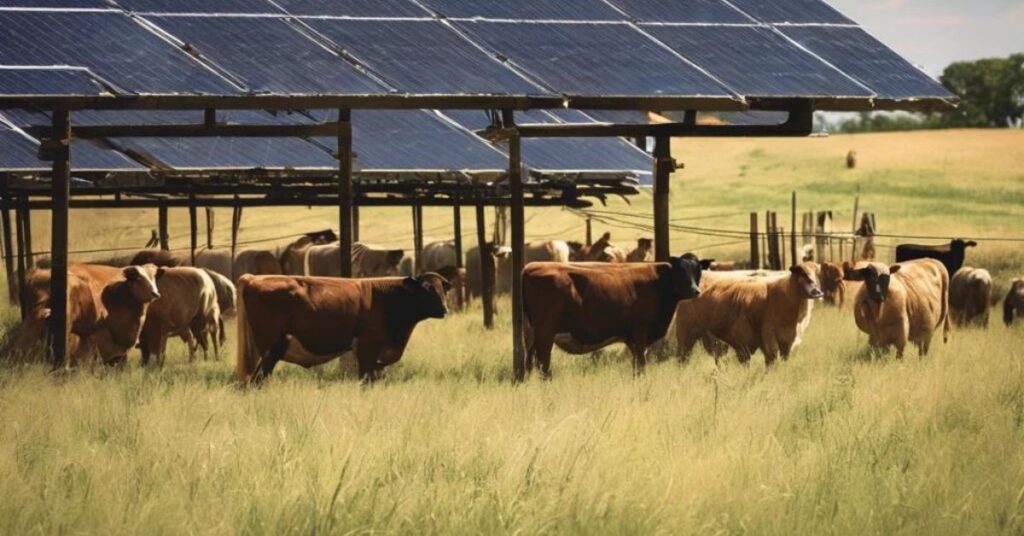
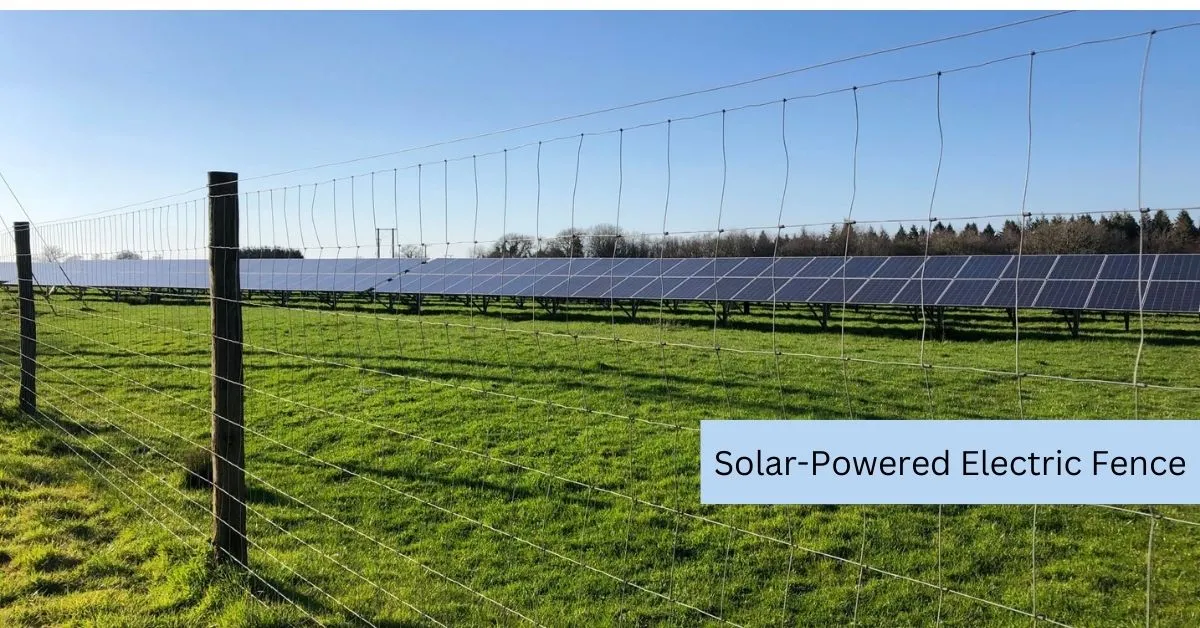
Solar-powered electric fences are transforming how farmers manage and protect their property and livestock. These systems are a cheap, eco-friendly alternative to traditional fences. They use solar power to provide reliable, sustainable solutions. Farmers can cut energy costs and reduce their environmental impact by using solar technology. So, solar electric fencing is a smart choice for modern farms.
This comprehensive guide will walk you through the installation of a solar-powered electric fence on your farm. This guide covers it all. It shows how to choose the right system, prepare your land, and install it using a step-by-step process. It also covers key tests and maintenance to keep your fence effective long-term. These instructions can boost your farm’s security. They can also streamline livestock management with new technology.
### Choosing the Right Solar-Powered Electric Fence System
Selecting the appropriate solar-powered electric fence system is critical for effective farm management. This means weighing several factors. They ensure the system meets your needs and works well.
A solar electric fence system has key parts. They work together to create an effective barrier. These components include the solar panel and the battery. The solar panel converts sunlight into electricity. The battery stores energy for use in low light. The fence charger, or energizer, controls the pulse sent through the fence wires. The fence posts support the wire structure. The fence wire carries the current. Insulators prevent it from grounding through the posts. Finally, the earth stake acts as an antenna for the electrical flow.
To choose the right system, you must consider the size of the area to be fenced and the power requirements. Measure the area in acres or miles to determine material needs and calculate the total distance of wire strands that need to be electrified.
Choose a charger with a mileage rating that matches your needs. One joule of output per mile of energized fence wire is standard.
Additionally, consider the type of animals to be contained, as this will affect the required voltage and visibility of the fence.
When comparing solar electric fences, check their maximum coverage area. Make sure their capacity meets your space needs. Solar-powered electric fences can reach up to 8,000 volts to deter livestock or wildlife. Compatibility between the solar panel, battery, and fence charger with your existing system is also crucial. Durability is another important factor; look for models offering superior lightning surge protection. Consider the mounting options. Systems that can be mounted on posts, flat surfaces, or swivel mounts offer the best sun exposure.
### Preparing Your Farm for Installation
Proper planning is crucial for an effective solar-powered electric fence installation. First, create a detailed map of your property. Use aerial photos or topographical maps to set field boundaries and to understand the land’s contours and slopes. Online tools can also assist in visualizing the lay of the land. When mapping the fence line, consider key topographical features. Then, create a transparent overlay on your base map to outline broad electric fence corridors. This approach allows you to divide the land into manageable sections, tailored to your livestock management strategy.

Once the fence line is mapped, prepare the installation area. It’s best to avoid fencing in rough, stony, or steep areas if possible. If necessary, level uneven terrain before setting posts and replant grass to prevent erosion and weed growth. For high-tensile fencing, consider a slight zig-zag in the fence line. Avoid a straight line over areas that need extensive ground prep. This can reduce the need for additional posts and leveling. Go to the what is Once Human Solar Panel.
Before you begin installation, gather all necessary tools and materials. Essential components include fence posts, electric wire, insulators, earth stakes, a fence charger, a solar panel, and a battery. Additional tools like a post-hole digger, T-post driver, cement for securing corner posts, and a level and tape measure will also be needed.
For effective grounding, plan to install at least three six-foot-long ground rods, spaced ten feet apart. Ground rod clamps and galvanized wire or insulated cable are required. They must be rated for up to 20,000 volts to connect the ground system.
### Step-by-Step Installation Process
Begin the installation by selecting an optimal location for the solar-powered electric fence charger. The solar panel requires maximum exposure to sunlight for efficient operation. Typically, these chargers are mounted on T-posts. To install it, plant a T-post beside the fence at a suitable point along the line and mount the solar charging unit on top of the T-post. Swivel the panel to face south (in the northern hemisphere) to maximize sunlight exposure.
Next, set up the fence structure. Start by planting wooden corners or end posts at the boundary’s extremes. These posts should be at least six inches in diameter and anchored three to four feet into the ground. Install T-posts at 15-20 foot intervals between the corner posts. Use shorter intervals on steep sections and longer on flat areas. Drive the T-posts about two feet into the ground using a T-post driver, ensuring the brackets face away from the enclosed area. Unspool and hang the electric wire on the T-post brackets, maintaining equal height around the perimeter.

Proper grounding is essential for the fence’s effectiveness. Locate an area with good, conductive soil, at least 25 feet away from buildings with metal siding. Install two or three six- to eight-foot grounding rods, spaced ten feet apart, near the fence’s starting point. Connect the rods using insulated wire and ground rod clamps.
Run an insulated wire from the energizer to the nearest ground rod and connect it to the energizer’s ground terminal, identifiable by the ground symbol. Testing the grounding system during dry and wet seasons is important to ensure year-round effectiveness.
### Testing and Maintaining Your Solar Electric Fence
Regular testing and maintenance are crucial for ensuring the long-term effectiveness of your solar-powered electric fence. A systematic approach can help prevent livestock escapes and maintain optimal fence performance.
To assess fence performance, use a digital or analog multimeter set to measure DC voltage. Wear insulated gloves for safety, connect the black probe to a ground rod, and touch the red probe to the fence wire. The voltage reading should typically fall between 2,000 to 10,000 volts. Regular voltage checks help identify potential issues early.
Maintaining a solar electric fence involves several key tasks. Regularly clean solar panels to maximize sunlight absorption. Inspect and replace batteries as needed. Also, check that all connections are secure and insulated. Examine the fence line for damage or loose wires, and keep the area around the fence clear of vegetation that could cause grounding.
If fence performance declines, follow a systematic troubleshooting process. Start by checking the power source and battery, and test the energizer terminals for proper energy output. Inspect the ground rod system, ensuring at least three rods are installed. Check the hook-up wire connections from the energizer to the fence and ground. Then, walk the fence line to find any shorts or damage.
### Conclusion
Solar-powered electric fences are revolutionizing farm security and livestock management. This guide has outlined the process of choosing, installing, and maintaining these innovative systems. Using the sun’s power can protect your property and animals. It’s a cost-effective, eco-friendly way to cut energy costs and reduce your impact on the environment.
Investing in a solar electric fence is a smart decision to enhance farm efficiency. With proper planning, testing, and maintenance, these fences can meet modern farming needs. They are a reliable and sustainable solution. As technology advances, solar-powered electric fences are a great tool. They can streamline operations and boost farm productivity.


