Preparing the Installation Site
1. Site Survey
Conduct a thorough survey of the installation site to identify any potential obstacles or factors that may affect the efficiency of the solar panels. Evaluate the terrain taking note of slopes uneven surfaces and any shading elements such as nearby buildings or vegetation.
2. Clearing the Area
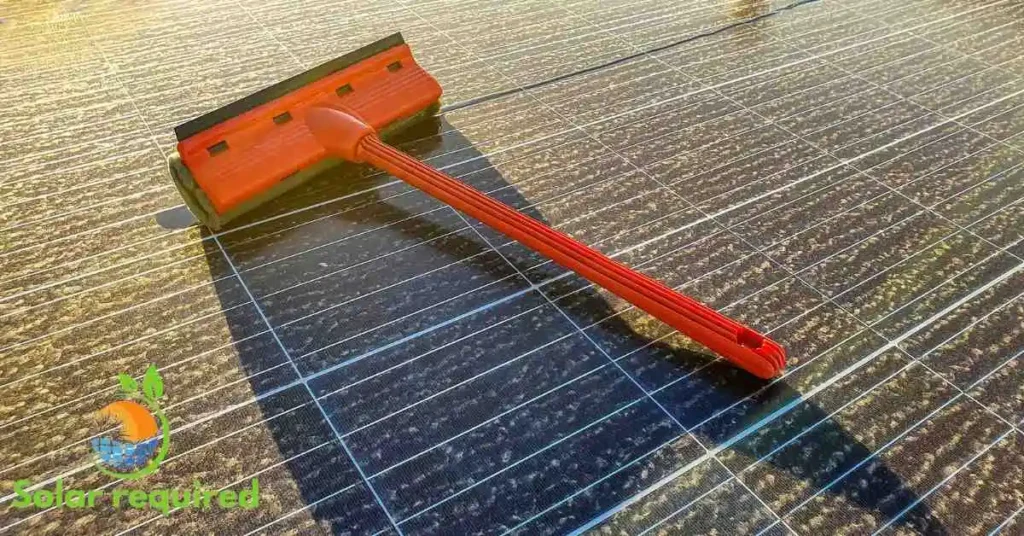
Clear the installation area of any debris, vegetation, or objects that could obstruct sunlight and cast shadows on the solar panels. Ensure there are no overhanging branches or nearby structures that might interfere with the panels’ exposure to sunlight.
3. Soil Analysis
Assess the soil conditions to determine its stability and load-bearing capacity. This information is crucial for designing the foundation or support structure for the solar panel system.
4. Foundation Preparation
Depending on the mounting system used (ground-mounted or roof-mounted) prepare the foundation accordingly. For ground-mounted systems, this may involve excavation for concrete footings or piles to secure the mounting structure. Roof-mounted systems may require an assessment of the roof’s structural integrity and reinforcement if needed.
5. Alignment and Orientation
Determine the optimal orientation and tilt angle for the solar panels based on the site’s geographical location and the desired energy output. Ensure proper alignment to maximize sunlight exposure typically facing south for the Northern Hemisphere and north for the Southern Hemisphere.
6. Utility Connections
Plan for the routing of electrical cables from the solar panels to the inverter and subsequently to the electrical grid or storage system. Coordinate with utility providers to ensure compliance with regulations and facilitate grid connection.
7. Safety Measures
Implement safety measures for both the installation team and future maintenance personnel. This may include warning signs, barriers, or designated access points to prevent accidents.
8. Weather Considerations
Take into account local weather conditions and their potential impact on the solar panel system. Consider factors such as wind snow load and extreme temperatures when designing the installation and protect solar panels from rain and hail.
9. Regulatory Compliance
Ensure compliance with local building codes zoning regulations and any other relevant permits required for solar panel installations.
10. Documentation
Keep detailed records of the site preparation process including soil test results structural assessments and any modifications made to the site.
Installing Racking and Mounting Systems
Selection of Racking System:
Choose the appropriate racking system based on the type of installation (ground-mounted roof-mounted or tracking system) and the specific requirements of the bifacial solar panels.
Site-Specific Design:
Customize the racking system design to suit the specific characteristics of the installation site including factors such as soil conditions wind load and tilt angle.
Positioning and Alignment:
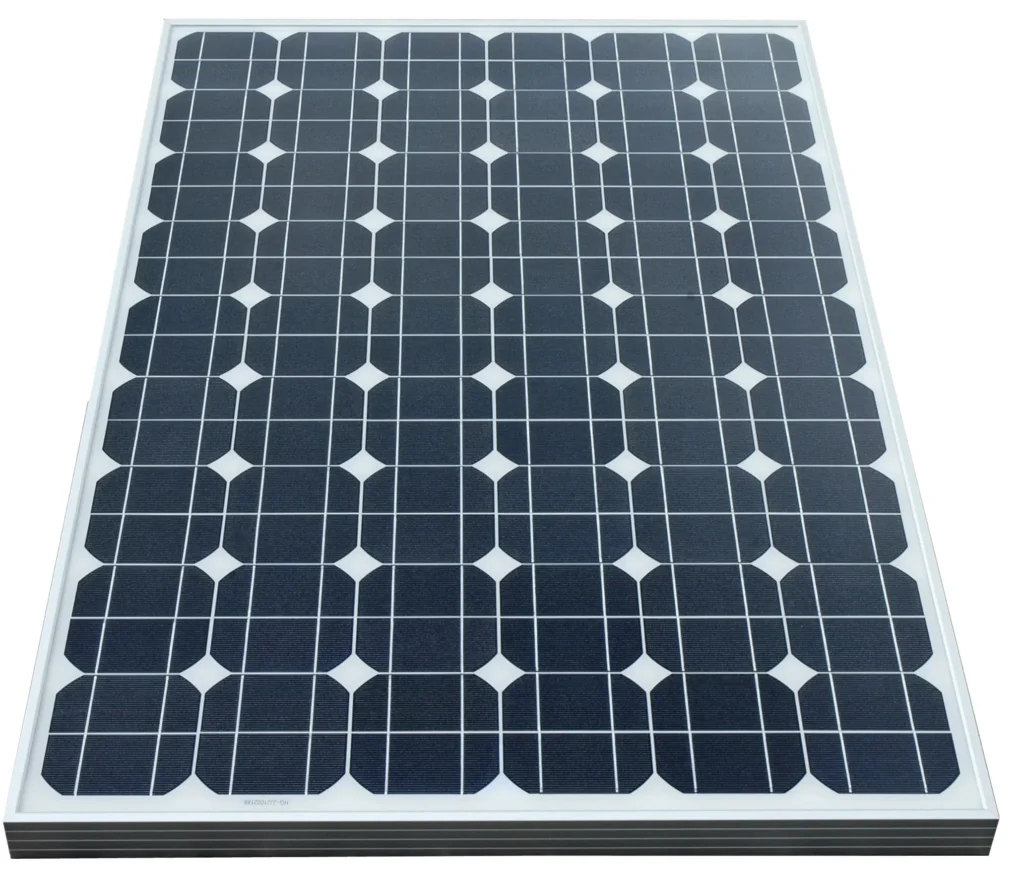
Properly position and align the racking system to ensure optimal exposure to sunlight. This involves setting the correct azimuth (orientation) and tilt angle for the panels based on the geographical location.
Safety Measures:
Implement safety measures during the installation process including the use of appropriate personal protective equipment and adherence to safety standards.
Wiring and Electrical
Layout Planning
Develop a detailed plan for the electrical layout including the arrangement of solar panels wiring routes and the location of the inverter. Consider factors such as shading distance between panels and the electrical capacity of the system.
Series and Parallel Connections
Connect the bifacial solar panels in series or parallel configurations depending on the system design and voltage requirements. Series connections increase the voltage while parallel connections increase the current. The combination determines the overall electrical output.
Junction Boxes
Install junction boxes near the solar panels to consolidate wiring and provide a secure and weatherproof enclosure for electrical connections. Junction boxes typically house diodes for protection against reverse current flow and are essential for maintaining the efficiency of the entire solar panel array.
Stringing Cables
Use appropriately rated and insulated cables to connect the solar panels in series (stringing). Ensure the cables are secured to the mounting structure to prevent damage and maintain a neat appearance.
Connection to Inverter
Establish the connection between the solar panel array and the inverter, which converts the direct current (DC) generated by the panels into alternating current (AC) suitable for use in homes or injection into the electrical grid. Many problems you can face when you connect solar panels to an inverter. Verify that the inverter is compatible with the system’s voltage and capacity.
Grounding and Bonding
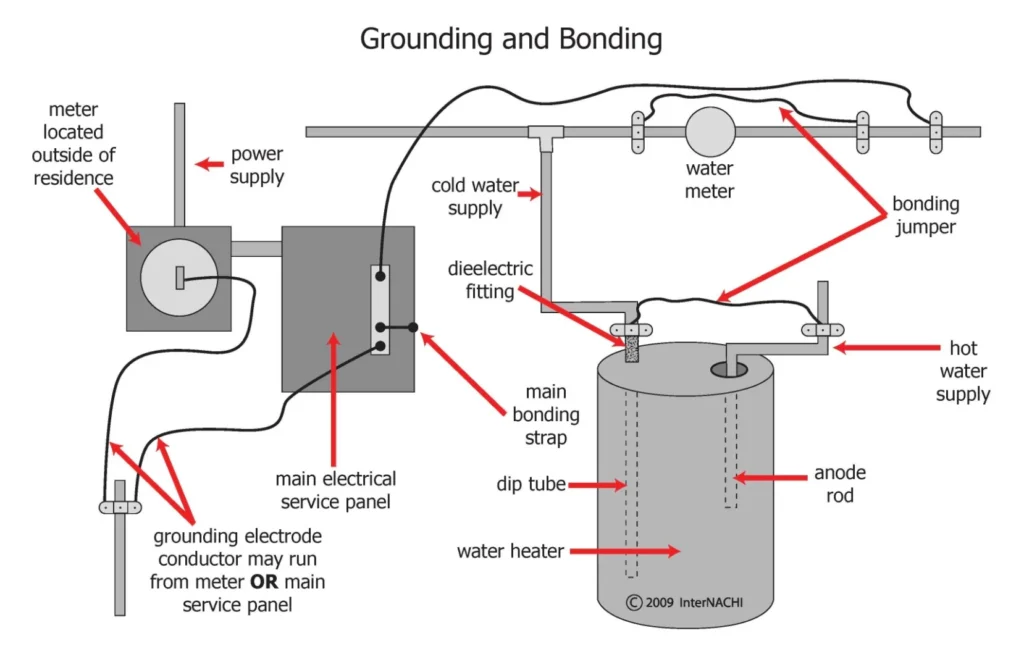
Implement grounding and bonding techniques to ensure the safety of the solar panel system. Grounding involves connecting the system to the Earth, while bonding ensures that all metal components are electrically connected.
Adhere to local electrical codes and standards for grounding and bonding practices.
Electrical Enclosures
Install electrical enclosures to house the inverter, disconnect switches, and other electrical components. These enclosures protect the equipment from environmental factors and provide easy access for maintenance.
AC Wiring
Connect the inverter to the main electrical panel or distribution system using appropriately sized and rated AC wiring. Install a disconnect switch to allow for safe maintenance and isolation of the solar panel system from the grid.
Monitoring Systems
Integrate monitoring systems to track the performance of the solar panel system including energy production potential issues and overall health. Connect monitoring devices to the inverter or communication gateway for data collection and analysis.
Quality Checks and Testing
Conduct comprehensive testing of all electrical connections to ensure proper functionality and compliance with safety standards. Perform insulation resistance tests continuity checks, and other electrical measurements.
Labeling
Clearly label all wiring, junction boxes, and electrical components for easy identification during maintenance and troubleshooting.
Mounting Bifacial Solar Panels
Panel Placement:
Carefully place the bifacial solar panels on the mounting structure according to the predetermined layout and design. Ensure that the panels are aligned correctly based on the orientation and tilt angle determined during the planning phase.
Securing Mounting Clamps or Brackets:
Attach mounting clamps or brackets to the frame of each bifacial solar panel. These clamps are typically designed to secure the panels to the mounting rails or structure ensuring stability in various weather conditions.
Alignment and Spacing:
Confirm that the panels are aligned correctly with each other and the mounting structure. Check for uniform spacing between panels to prevent shading and optimize sunlight exposure. Use specialized tools or alignment guides to achieve precise positioning.
Tightening Fasteners:
Securely fasten the mounting clamps or brackets to the mounting rails using appropriate fasteners. Follow manufacturer guidelines regarding torque specifications to prevent over-tightening or under-tightening.
Ground-Mounted Systems:
For ground-mounted systems ensure that the panels are securely anchored to the foundations. This may involve additional measures such as grounding the frame to enhance safety and protect against lightning strikes.
Roof-Mounted Systems:
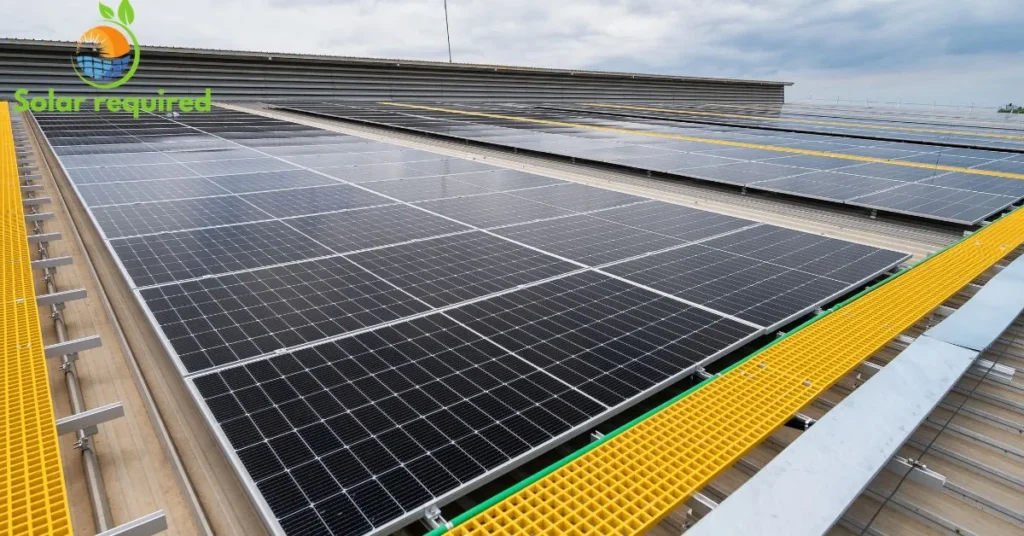
If installing on a roof confirm that the panels are securely attached to the roof structure. Use appropriate flashing and waterproofing techniques to prevent leaks and protect the integrity of the roof.
Anti-Theft Measures:
Consider implementing anti-theft measures, such as tamper-resistant fasteners or security devices, to safeguard the bifacial solar panels against unauthorized removal.
Wire Management:
Securely fasten the electrical wiring along the mounting structure keeping the wires organized and protected. Use cable ties or conduits to prevent damage from environmental factors.
Verification of Connections:
Double-check the electrical connections between the bifacial solar panels. Ensure that the positive and negative leads are correctly connected and that the series or parallel configurations align with the system design.
Quality Checks:
Conduct a thorough quality check of each mounted panel. Inspect for any signs of physical damage, manufacturing defects, or misalignment. Ensure that the glass surfaces of the bifacial panels are free from scratches or contaminants that could affect energy production.
Final Inspection:
Perform a final inspection of the entire solar panel array. Check for overall system integrity proper alignment and adherence to safety standards.
Address any issues or concerns identified during the inspection before proceeding to the next phase.
Grounding and Bonding
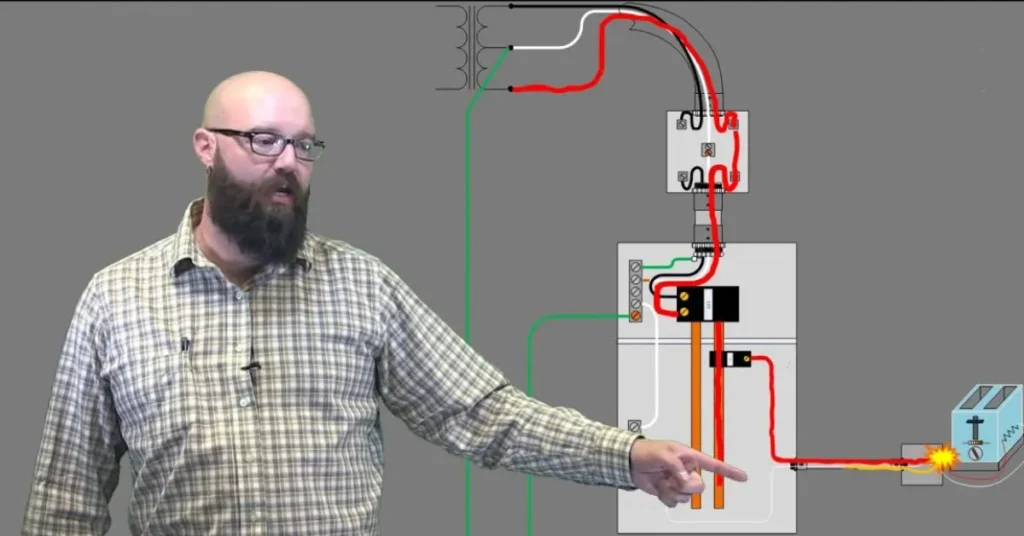
Grounding:
Purpose: Grounding provides a safe path for electrical currents to flow into the ground in the event of a fault preventing the accumulation of electric charge on equipment or structures.
Bonding:
Purpose: Bonding connects all metal components within the solar panel system to ensure they are at the same electrical potential minimizing the risk of electrical shock and creating a path for fault currents.
Documentation:
As-Built Drawings: Maintain accurate as-built drawings that document the locations of grounding electrode conductors and bonding connections.
Record Keeping: Keep comprehensive records of resistance measurements, equipment grounding, and any modifications or repairs made to the grounding and bonding system.
Compliance:
Adherence to Codes: Ensure that the grounding and bonding practices comply with local electrical codes, regulations, and standards.
Permits and Inspections: Obtain necessary permits and schedule inspections to verify compliance with electrical codes and safety requirements.
Final Inspection
Visual Inspection:
Panels and Mounting Structure: Examine each bifacial solar panel for physical damage, proper alignment, and secure mounting. Inspect the mounting structure for stability and alignment.
Wiring and Connections: Check all electrical wiring for proper routing, secure connections, and compliance with the system design.
Electrical Checks:
Voltage and Current Measurements: Use appropriate tools to measure the voltage and current output of the solar panels. Ensure they align with the expected values based on the system design.
Inverter Performance: Verify that the inverter is operating within its specified parameters and converting DC power from the panels to AC power effectively.
Safety Checks:
Grounding and Bonding: Confirm that grounding and bonding systems are properly installed, and all metal components are effectively bonded and grounded.
Labeling and Signage: Ensure all components are labeled accurately, including warning signs and safety information. Verify that emergency shutdown procedures are indicated.
Environmental Considerations:
Weatherproofing: Check for proper weatherproofing measures especially for rooftop installations to prevent water ingress and protect the system from environmental elements.
Anti-Theft Measures: Confirm that any anti-theft measures if implemented are in place and functioning as intended.
Data Monitoring:
Connectivity: Ensure that monitoring devices are properly connected and transmitting data. Verify that the monitoring system provides real-time performance metrics and alerts for any anomalies.
Remote Access: If applicable confirm that the system allows for remote monitoring and troubleshooting.
Safety Gear and Tools:
Personal Protective Equipment (PPE): Ensure that installers are wearing appropriate PPE during the inspection especially if accessing elevated areas or working with electrical components.
Testing Equipment: Verify that all testing equipment is calibrated and in good working condition.
Cleanliness:
Panel Surfaces: Check the bifacial solar panels for cleanliness. Remove any dirt, dust, or debris that may impact energy absorption.
Worksite Cleanup: Ensure the worksite is clean and free of construction debris minimizing potential hazards.
Client Orientation:
System Operation: Provide the system owner with an orientation on how to operate and maintain the solar panel system. Explain any monitoring tools and procedures for reporting issues.
Deficiency Resolution:
Addressing Issues: If any issues are identified during the final inspection, ensure that corrective actions are taken promptly. This may involve rechecking connections adjusting panel angles or addressing safety concerns.
Final Approval:
Documentation Submission: Submit all required documentation including inspection reports and as-built drawings, to relevant authorities or clients.
Final Approval: Obtain final approval from inspectors, aauthoritiesor clients before commissioning the bifacial solar panel system for regular operation.