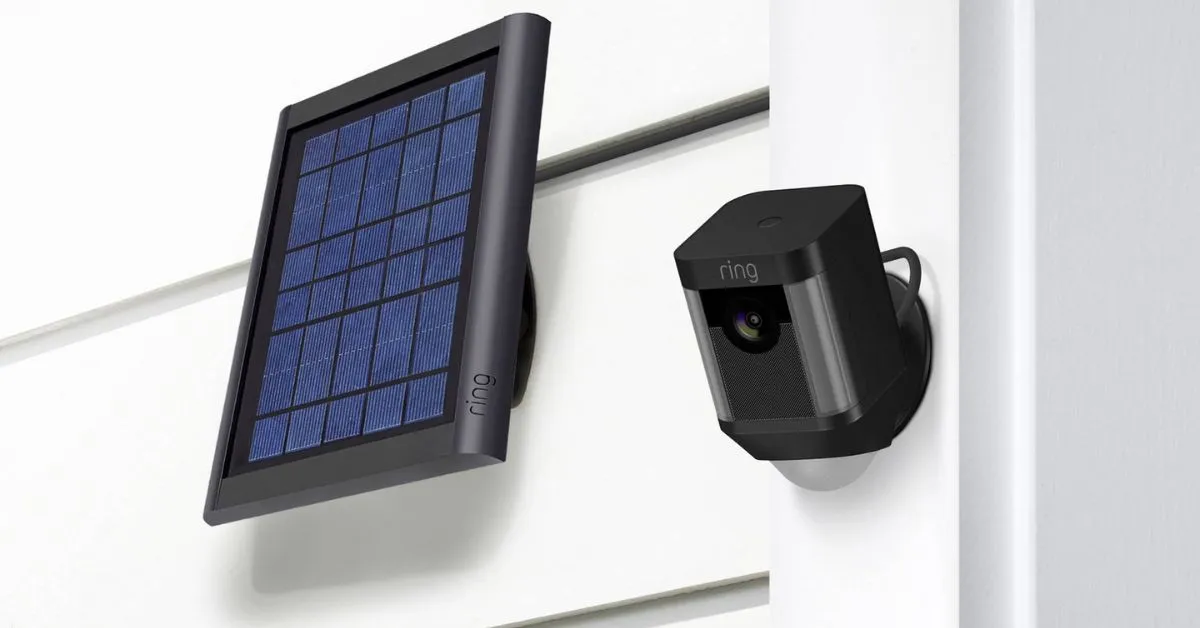
What is a Ring Solar Panel?
Technology continues to advance. More homeowners are turning to solar power. It’s a sustainable and cheap solution for their energy. Ring is a top provider of home security products. They offer solar panels.
The panels power their devices like video doorbells and security cameras. In this article, I will guide you through the step-by-step process of installing a Ring solar panel. This will ensure that you can take full advantage of the benefits it offers.
More read: Bifacial SolarPanels Installation step by step guide
Understand Step-by-Step Installation Process
Installing a Ring solar panel may seem hard. But with the right guidance,e it can be simple. Ring provides step-by-step instructions. By following them you can install your solar panel and start using the sun’s power. Let’s dive into each step in detail.
Step 1: Assessing Your Energy Needs and Location
Before you begin installing assess your energy needs. Also, check the location of the Ring solar panel. Consider the amount of sunlight your chosen location gets. This will impact the solar panel’s efficiency. Also, check your Ring device’s power needs. Make sure the solar panel you choose can meet them.
Step 2: Choosing the Right Ring Solar Panel for Your Needs
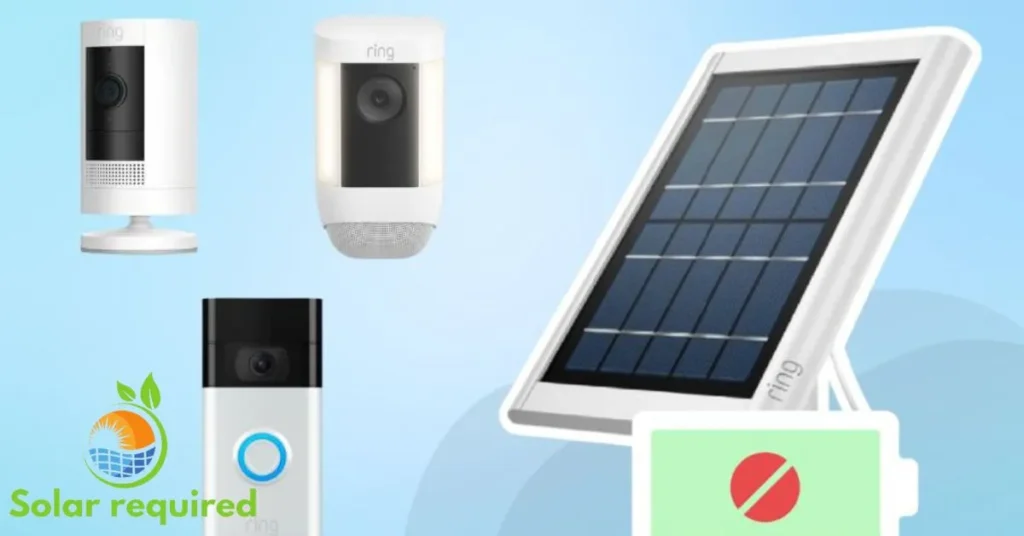
Ring offers a range of solar panels each designed to power specific devices. It is crucial to choose the right solar panel that is compatible with your Ring device. Consider wattage, voltage and solar panel design. Check them to ensure they work well with your Ring device. Looking at the product specifications. Also reaching out to Ring’s customer support can help you decide.
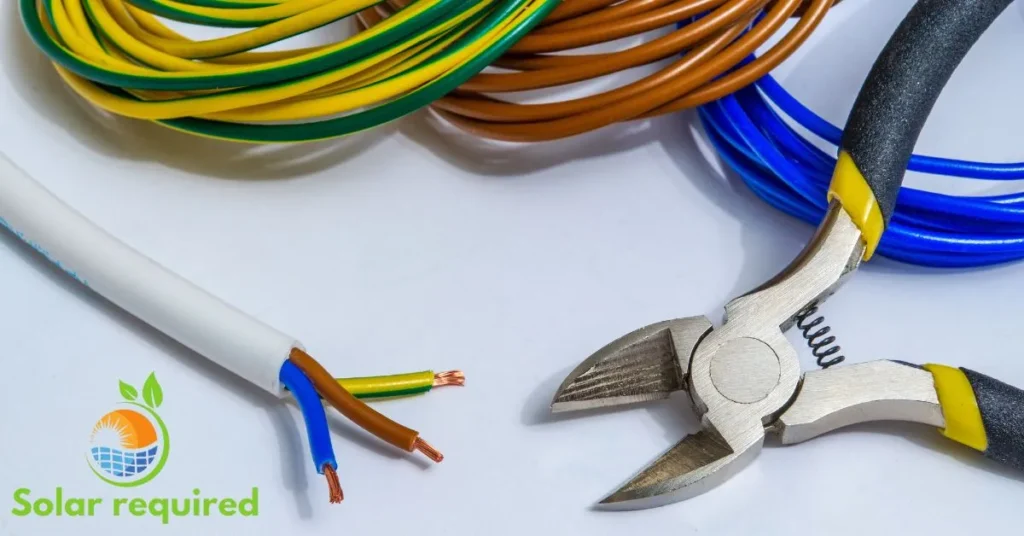
Step 3: Gathering the Necessary Tools and Equipment
Before you begin the installation make sure you have all the needed tools and equipment. Keep them at hand. You need tools to install a Ring solar panel. They include drill bits screwdriver screws and mounting brackets. It is important to use the correct tools to ensure a secure and stable installation.
Step 4: Preparing the Installation Area
Once you have gathered all the tools and equipment it’s time to prepare the installation area. Start by cleaning the surface where you plan to mount the solar panel. Make sure the surface is free from dirt. Dirt could affect the installation. Als,o think about the angle and orientation of the solar panel. Maximize its exposure to sunlight.
Step 5: Mounting the Solar Panel on a Suitable Surface
With the installation area prepared it’s time to mount the solar panel. Follow Ring’s instructions. Use them to attach the panel to a surface. Ensure alignment and tightening of the mounting brackets. This prevents any movement or damage to the solar panel. Double-check the stability of the installation before proceeding to the next step.
Step 6: Connecting the Solar Panel to the Ring Device
Now that you have mounted the solar panel it’s time to connect it to your Ring device. Carefully follow the instructions provided by Ring to establish the connection. This usually means connecting the solar panel’s cable to the port on your Ring device. Make sure the connection is secure and test it to ensure that the solar panel is providing power to your device.
Step 7: Testing and Troubleshooting the Installation
Once you connect the solar panel test the installation. Troubleshoot any issues that come up. Check the power status in the Ring app. Ensure that your Ring device is getting power from the solar panel. If you have problems consult Ring’s troubleshooting guide. Or ask their customer support for help.
Tips for Maximizing the Efficiency of Your Ring Solar Panel
To maximize your Ring solar panel’s efficiency consider these tips:
- Regularly clean the solar panel to remove any dirt or debris that may obstruct sunlight.
- Ensure that the solar panel angles toward the sun. This gives it optimal exposure.
- Monitor the power output of the solar panel regularly to detect any potential issues.
- Watch the weather. Move the solar panel as needed.
Why Is My Ring Solar Panel Not Connecting?
You are having trouble connecting your Ring solar panel. Several reasons could be causing this. Some common causes include:
- The problem is poor Wi-Fi signal strength. Make sure your Ring device is near a strong Wi-Fi signal. Then it can connect reliably.
- The installation is incorrect. Double-check the process to make sure all connections are secure and aligned.
- Check for power supply issues. Make sure the solar panel gets enough sunlight. Also check that the cable connections are intact.
- Check for updates for your Ring device. Make sure it is running the latest software.
How do I know if my Ring solar panel is working?
Your Ring Solar Charger or Solar Panel will appear as connected in the Ring app only when it has accumulated power. If the device remains out of sunlight for an extended period and runs out of power completely, it will display as “Not Connected” in the Ring app.

