Introduction
DIY solar panel kits have become very popular. Homeowners seek affordable and sustainable ways to harness the sun’s power. Utility bills are rising. Solar energy lets you generate your electricity. It’s able to save you money on bills, give money(via net metering), and cut your carbon footprint.
A good DIY solar home kit has all the parts for a solar power system. It makes it easier for beginners to set up and maintain it. This guide will cover what you need to know about DIY solar panel kits for home use. It will cover the installation, maintenance, and troubleshooting. These tips will help you get started with your DIY solar power kit.
What is a DIY solar panel kit?
A do-it-yourself solar panel kit is a complete set of parts that you need to install a solar power system in your home. They usually include inverters (string or micro-inverters). Also, racking, wires, surge protectors, a combiner box, labels, wiring diagrams, and instructions. The kit includes all you need to produce your electricity. You’ll use solar energy.
Parts of a Do-It-Yourself Solar Panel Kit
The kit has solar panels, an inverter (or micro-inverters) mounting gear for racking, wiring, and a monitoring system. For off-grid or hybrid systems you may need extra parts. These include charge controllers, batteries for energy storage, and battery cables.
Types of Solar Panel Kits
- Grid-Tied DIY Solar Kits
The kits allow you to make electricity. You can feed extra power into the grid for credit. This reduces utility bills. They are affordable and require minimal maintenance. - Off-Grid DIY Solar Kits
They are ideal for remote locations without access to the electrical grid. The kits include solar batteries to store extra electricity. This power is for use during cloudy days or at night. They also include a generator for extra power. - Grid Hybrid Solar Kits
The kits combine the benefits of grid-tied and off-grid systems. They include batteries for power during outages and stay connected to the grid. - Portable DIY Solar Kits
The kits are lightweight and compact. They allow you to make electricity on the go. They’re perfect for camping, RVs, or charging devices outdoors. - DIY Solar Expansion Kits
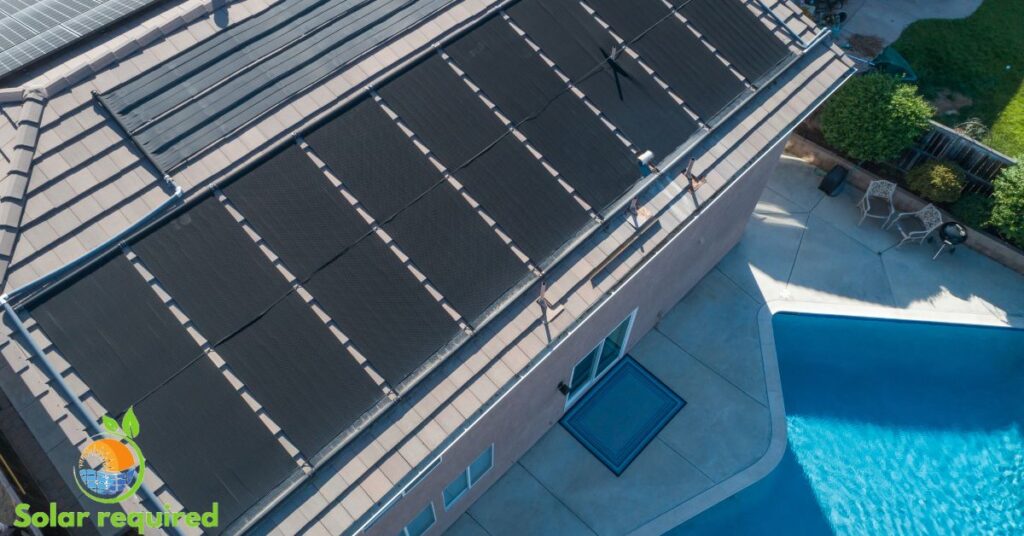
The kits add more panels and parts. They increase the energy capacity of existing solar systems. - Roof-Mounted DIY Solar Kits
These kits are for installation on your home’s roof. They include equipment to attach them securely to various roofing materials. - Ground-Mounted DIY Solar Kits
The kits include racking systems. You use them to mount solar panels in a sunny area away from your house. They’re customized based on local requirements and soil conditions.
Installing a DIY Solar Panel Kit
Site Assessment and Preparation
A full site assessment should determine the best place for your solar panels. Do this before installation starts. The assessment should consider things like tilt, shade, and ground or roof space. Find spots with the most sunlight possible.
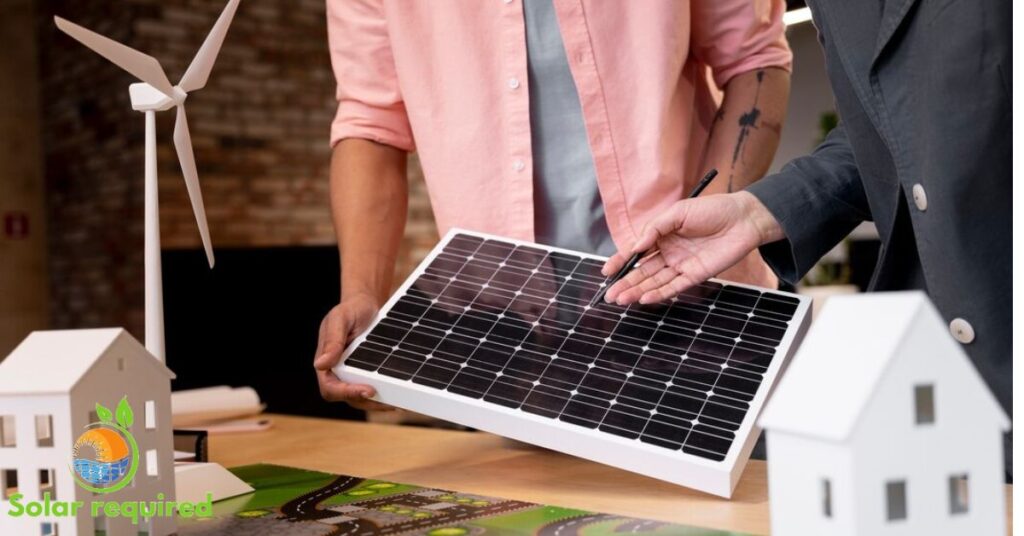
They should have it all day. And, make sure nothing might shade your solar panels. Get the needed permits from your local government. Installing a solar system needs electrical and building work or you can go with a solar panel system diagram.
Gather the needed instruments. These include measurement tools, power tools, and safety gear. They are vital for a DIY solar installation. Most supplies are in the kit. But, some need extra purchases.
Installing the Solar Panels
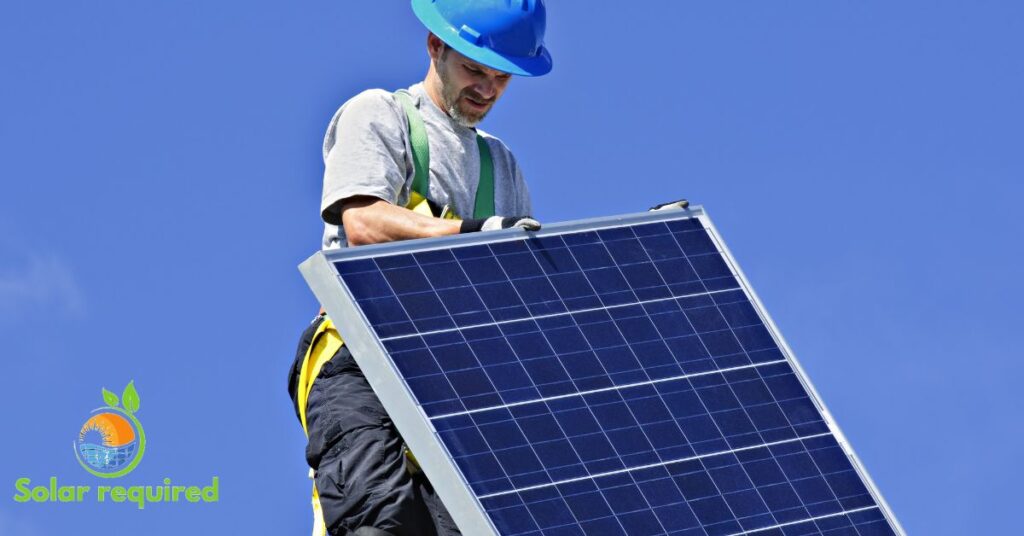
Mark the location of your roof rafters which will serve as the solar array’s base, if the kit is roof-mounted. Attach the racking rails to the flashings. Do this after attaching the thin sheets, called flashings, to the rafters. Do so at the designated spots.
Dig holes and pour concrete footings for kits. The kits are mounted on the ground to secure the support structure to the earth. Build the metal substructure. Then, attach the racking rails after the concrete hardens.
Before adding the solar panels screw microinverters onto the rear frame. Do this if your system uses them. To secure the solar panels in place, install them on the racking rails using end clamps and grounding mid-clamps.
Wiring and Electrical Connections
- If you use string inverters mount them on a wall. Please put them in a place that is easy to reach and as near to the solar panels as you can. This will make wiring efficient.
- If included connect the solar inverter to the solar battery. This stores excess energy for use during cloudy weather or at night.
- Connect the system’s components using the provided instructions. Route the wires from the inverter(s) through a junction box and a PV disconnect switch. Then, connect them to your home’s circuit breaker box to link to the grid.
- For ground-mounted systems bury the wiring underground to comply with the National Electrical Code (NEC).
- Once all parts are wired and connected test your solar panel system. Make sure it is making electricity.
Upkeep and problem-solving.
Frequent inspection and cleaning.
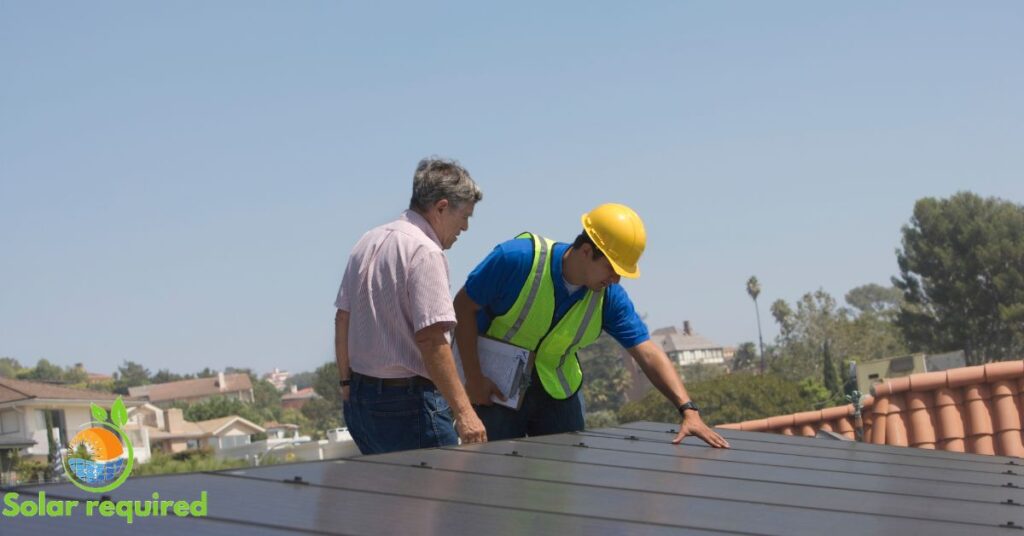
You must properly maintain your solar panels to maximize their value and output. Solar panels need less upkeep than other major home systems. But, you still need to maintain them. The fact that panel maintenance is low is good news. You’ll need to clean your panels well. Dirt and debris can build up on them, especially after storms and long dry spells. It is normally advised that you clean your solar panels two to four times a year.
Monitoring System Performance
A solar monitoring system lets you track your solar panels’ output. It can detect damage or issues. The key to solar monitors is the software.
Common Issues and Solutions
Common solar panel issues include.
- zero power output
- inverter problems
- electrical faults
Zero power output is likely due to damaged solar panels or a faulty inverter. Dirty panels, shading, and extreme temperatures can cause low power output. Also, output can be low due to charge controller issues or solar panel defects, like microcracks or delamination.
Inverter issues may arise from faulty installation capacity mismatches, power surges, short-circuiting, overheating, charging issues, or MPPT module problems.
Electrical problems like circuit breaker issues, faulty wiring, and PV load issues can also reduce energy output. You can fix small issues with DIY troubleshooting. But, pros are needed for big problems. They require professional repairs or part replacements.
Conclusion
Homeowners want sustainable energy. They can get it by installing a DIY solar panel kit. Maintaining it can be fulfilling. You can ensure that your solar power system works well and offers long-term benefits. Do this by following the right installation steps. Also, do routine maintenance and watch system performance. The setup may take time. But, in the long run, the cost savings and environmental benefits make it a good investment.
Using solar energy with DIY solar panel kits can cut your carbon footprint. It might also save you money on power bills. More people will likely turn to solar power. It’s a reliable and renewable energy source for their homes. This shift will happen as awareness and technology advance. With the right knowledge and dedication, anyone can use the power of the sun. They can enjoy the benefits of clean sustainable energy.
FAQs
1. Are DIY solar panel kits a good investment?
DIY solar panel kits might seem like a way to save money as they can potentially reduce your total bill by about 10%. However, the risks of improper installation are big. Also, accessing high-quality equipment is a challenge. Extra time for installing and administrative tasks (usually done by pros) is also a big issue. The savings may not be worth the effort and problems.
2. What components are necessary for a DIY solar system?
To set up a DIY solar system you will need many key parts. These include solar panels, inverters, racking, and performance monitors. Also, you might consider getting an energy storage system like a solar battery. This is especially true if you live in an area without net metering.
3. How much time is required to charge a 12V battery using a 100-watt solar panel?
Charging a 12V battery with a 100-watt solar panel can take from 4 to 20 hours. The time varies based on the panel’s charging capacity. To hurry the charging process you can use many solar panels.
4. How can you construct your solar panel kit?
Building your solar panel kit involves several steps. First, you need to buy key parts. These include solar cells, tab wires, and glass. Ensure you wear gloves and safety goggles for protection. Measure and cut the tab wires then solder them to the front and back of the solar cells to form strings.
5. How many batteries can a single 100-watt solar panel charge?
Under perfect conditions, a 100-watt solar panel can fully charge one 100Ah 12V battery in a day. This assumes there are at least 8 hours of unobstructed sunlight.
